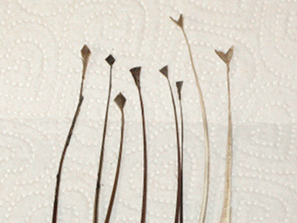
These are geometric shapes, cut from the ends of chicken feathers.
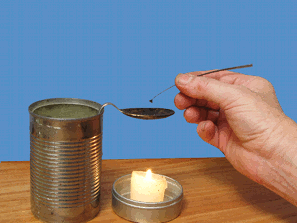
This is a bent spoon, its bowl filled with beeswax, and its handle stuck into a can of sand. This low-tech arrangement makes it easy to adjust the height of the wax above the candle flame, and control the temperature of the wax.
Dip the feather-shape – in this case a triangle — into the melted wax.
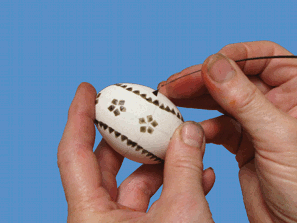
Touch the feather-shape to the egg, leaving a triangular wax mark.
The wax will keep dye off the egg, so wherever you put wax at this stage will remain white.
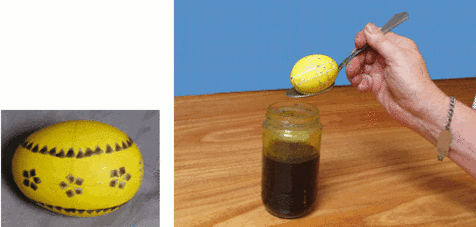
Dip the egg into the first color of dye – in this case yellow.
The unwaxed areas are yellow.
The waxed areas have been protected from the yellow dye and are still (hidden) white.
Now, touch wax shapes onto all the places that should remain yellow.
You can use the head of a straight pin to make dots.

Continue in this way, adding layers of wax and different colors, until the design is complete.
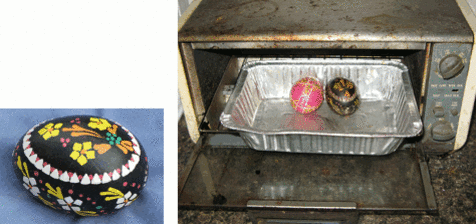
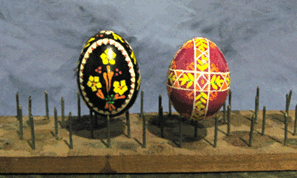
Varnish the egg. Blow out the insides.
Your egg should last for many happy years.